Our school, like many school, has had no choice but to end of life a significant amount of ChromeBooks. Without wading into the ewaste debate, I took it upon myself as a personal challenge to find a way to make these ChromeBooks, which could no longer run ChromeOS, useful for the classroom. This turned out to be more of a challenge than I expected and required research on a lot of topics, so I decided to put all the information in one place to assist people in repurposing.
The first thing you learn is the many ChromeBooks have a hardware write protect setup. I will speak only to model of ChromeBook I am dealing with, but do know that without disabling that hardware write protect, you are dead in the water. Here is a video I found, quite nicely with the model of ChromeBook I am dealing with:
Some things you generally need:
A set of good Philips Head screw drivers
A pry tool
Lessons learned:
Plastic pry tools last about two uses, so don’t waste your money. I like the iFixit pry tool, but it looks a little too much like a knife. Ultimately, we went with mini metal crowbars for prying.
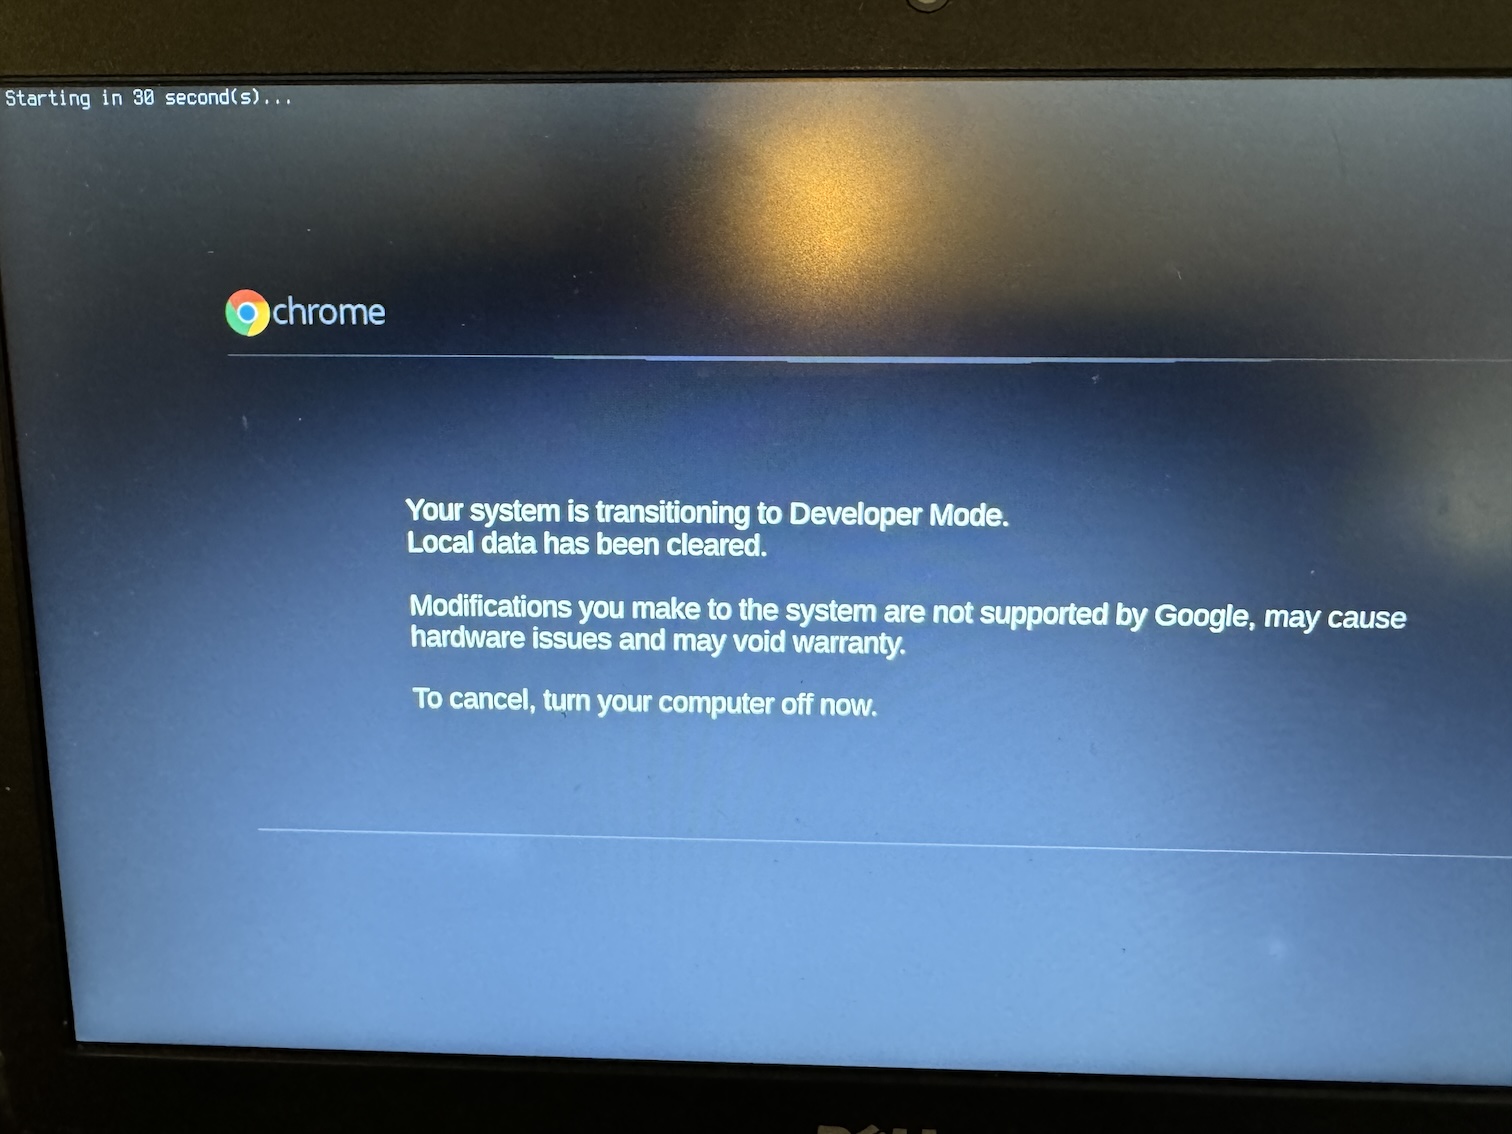
Once you have removed the write protect screw, the next step is to the start the ChromeBook in developer mode – esc and refresh while booting – and then hit control D. This can be hit or miss, as sometimes the ChromeBook will indicate the machine is not able to be switched into developer mode, but it usually works the second (or fourth or fifth) time even when it fails the first time. If it continually fails, you may have to login to the ChromeBook first as per this reddit post, but even logging in via guest mode seems to work.
At this point the ChromeBook should be “powerwashed” and you should be able to boot it up and login as a guest. You may have hit control D after booting up and, once logged in, press control-alt-t and then type shell into the crosh prompt.
WARNING – These next steps can potentially brick your ChromeBook and you can’t go back!
At this point, you should have shell access to your ChromeBook. Your next step is to run:
cd
curl -LO mrchromebox.tech/firmware-util.sh > firmware-util.sh
sudo bash firmware-util.sh
Please note, the first cd is vital to be sure you are able to download script into a writeable directory.
This will prompt you to download the necessary firmware utility (more information here). It will first prompt you to disable the software write protect. You should do this, reboot the machine, login again as a guest and repeat the above bash code to write the custom firmware.
It can be quite a pain to get the machine to boot the second time around after the custom firmware is installed, so have patience.
Now we have to install an operating system. I really like GalliumOS especially because it is customized for each version of the ChromeBook, but it isn’t supported anymore. My students have also been experimenting with Linux Mint Xfce and have found it to work well, albeit a little cramped for space.
I did find, at least with GalliumOS, that the USB drive has to be USB3 (USB2 just wont work) and the image has to be burned with Rufus using the DD option.
Boot the ChromeBook with the USB3 drive plugged in, start it up from the USB3 drive, and you must keep GalliumOS off the Internet while installing by not connecting it to the WiFi during install.
After installing, you should have a fairly responsive full blown Linux machine!
